Mortuus Beginner Guide: Survival Curves to Round 26
In the demo build, all round curves stay flat from round 26 on and tables stop there.

Surviving early and mid rounds in Mortuus comes down to how you balance points across doors, wall guns, perks, candy bars, and the Chute while enemy curves climb toward round 26. In the demo build, every round curve stops climbing at round 26, and you can model wave numbers or plan spending routes with the round calculator and points planner, or read the demo round cap guide.
| Mechanic / Entity | Value | Details |
|---|---|---|
| Starting points | 500 | Points at run start |
| Candy bar | 500 | +1% per candy bar |
| Medic | 1,500 | revive yourself once when you go down |
| Vitality | 2,500 | 125 max health |
| Quickhands | 3,000 | reload twice as fast |
| Keeper | 11,250 | going down costs you no perks |
 Compound Interest |
Rare | +25% Points Earned |
| Demo round cap | 26 | All curves are flat from round 26 on |
Points Economy and Early Income
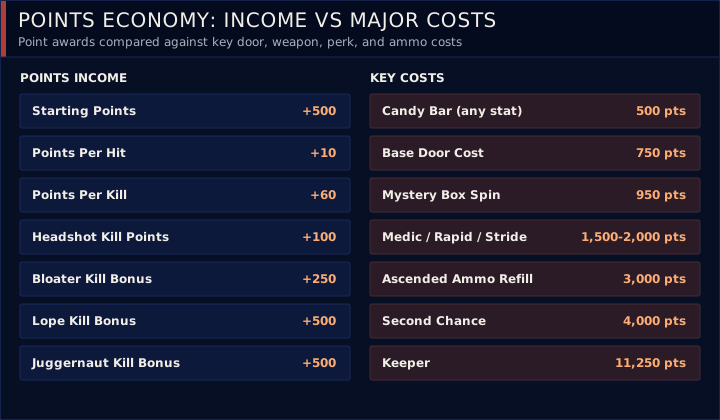
Every run begins with 500 starting points, and combat awards 10 points per hit, 60 points per kill, and 100 points per headshot kill.
A Bloater round enemy grants a 250 bonus on defeat. Taking down a Lope round enemy pays a 500 bonus, and killing a Juggernaut round enemy also awards a 500 bonus. At round end, Compound Interest is a Rare upgrade card that adds +25% points earned. You can test door and perk budgets before a match in the points planner or check every income rule on the points mechanics page.
Doors, Power Room, and Map Progression
The first door of a run is free, letting you exit the starting room without spending your opening points. Maps separate rooms with buy doors, debris, power shutters, and ram gates, with full layout details on the doors and map mechanics page.
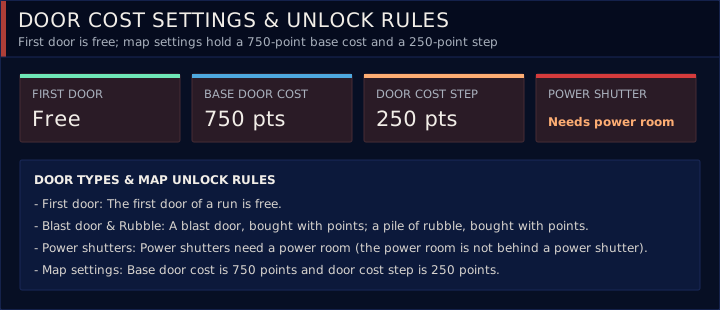
Every map holds a single power room with the power switch, and the power room is never placed behind a power shutter. Flipping the switch opens power shutters by itself and powers Gun Ascension, which we walk through in how to turn on power.
Wall Guns, Bands, and the Chute
Before spinning the box, check the weapons database to compare every gun bought off the wall across map bands. Each wall-buy spot gets a band from 0 to 3 as its quartile in the map’s ordered wall-buy spots rather than a round or depth value, and each gun appears at most once per map.
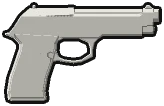 M9 (500 points, bands 0 to 1): deals 904.5 DPS with 120.6 damage, 450 RPM, and a 15-round magazine.
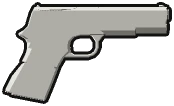 1911 (600 points, bands 0 to 1): deals 811.5 DPS with 150.8 damage, 323 RPM, and an 8-round magazine.
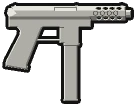 Tec-9 (800 points, bands 0 to 1): deals 942.2 DPS with 75.4 damage, 750 RPM, and a 32-round magazine.
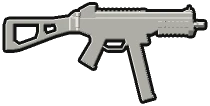 UMP (1,100 points, bands 0 to 2): deals 1,633.1 DPS with 150.8 damage, 650 RPM, and a 25-round magazine.
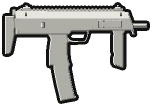 MP7 (1,200 points, bands 1 to 2): deals 1,591.2 DPS with 100.5 damage, 950 RPM, and a 40-round magazine.
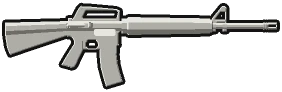 M16 (1,200 points, bands 1 to 2): deals 2,261.2 DPS with 150.8 damage, 900 RPM, and a 30-round magazine.
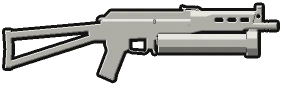 Bizon (1,300 points, bands 1 to 2): deals 1,407.0 DPS with 120.6 damage, 700 RPM, and a 64-round magazine.
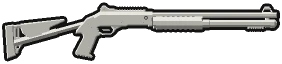 Tactical Pump (1,300 points, bands 1 to 2): deals 1,159.6 DPS at 75 RPM with a 7-round magazine.
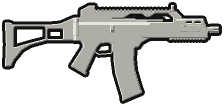 G36 (1,500 points, bands 1 to 3): deals 1,256.2 DPS with 100.5 damage, 750 RPM, and a 30-round magazine.
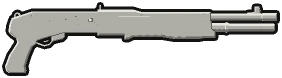 SPAS-12 (1,500 points, bands 1 to 3): deals 2,319.2 DPS at 150 RPM with an 8-round magazine.
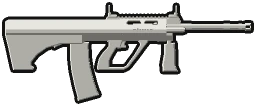 AUG (1,600 points, bands 2 to 3): deals 1,407.0 DPS with 120.6 damage, 700 RPM, and a 30-round magazine.
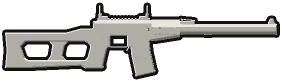 VSS (1,700 points, bands 2 to 3): deals 2,010.0 DPS with 201.0 damage, 600 RPM, and a 20-round magazine.
 SVD (1,800 points, bands 2 to 3): deals 994.9 DPS with 331.6 damage, 180 RPM, and a 10-round magazine.
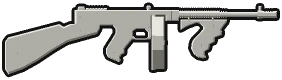 Tommy Gun (1,800 points, bands 2 to 3): deals 1,172.5 DPS with 100.5 damage, 700 RPM, and a 50-round magazine.
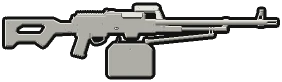 PKM (3,000 points, band 3 to 3): deals 930.9 DPS with 95.5 damage, 585 RPM, and a 100-round magazine.
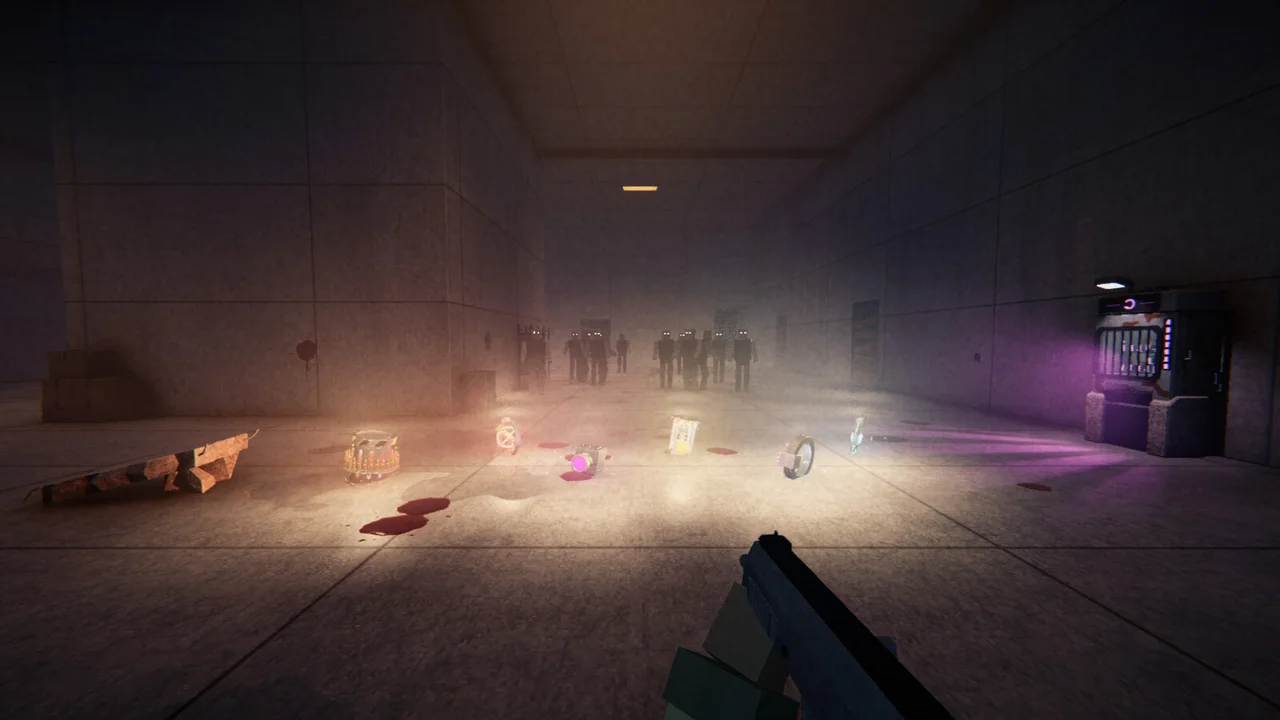
Main map settings place 4 Mystery Box spots where the Chute opens at round start. Spin cost is 950 points, with a minimum value of 5 spins required before the box moves; see the Mystery Box mechanics page for full box details. After power is turned on, the Ascension room (whose walls spawn no zombies) holds the altar that upgrades guns. Ammo for an ascended wall gun has a price of 3,000 points, and our weapons and Gun Ascension guide plus the Gun Ascension mechanics page cover weapon stats and upgrades in depth.
Perks, Candy Bars, and Round-End Cards
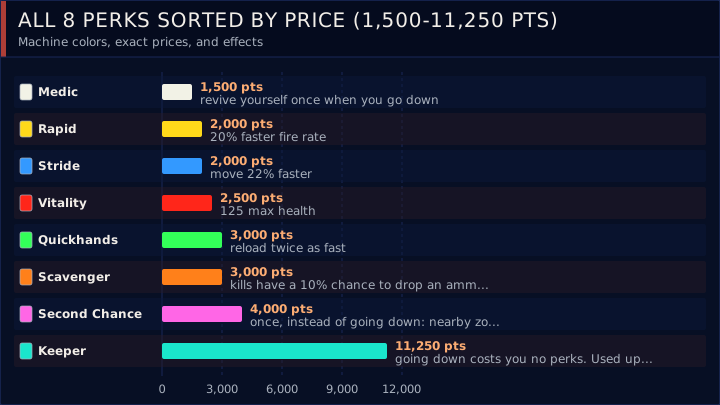
Generated maps use settings that place 4 perks per layout, and no perk machine can be copied on the same map. The full pool offers 8 perks with different point values in the perks database.
- Medic (1,500 points): lets you revive yourself once when you go down.
- Rapid (2,000 points): provides a 20% faster fire rate.
- Stride (2,000 points): lets you move 22% faster.
- Vitality (2,500 points): raises max health to 125.
- Quickhands (3,000 points): cuts reload time and boosts reload speed (see summary table above).
- Scavenger (3,000 points): gives kills a 10% chance to drop an ammo box that refills part of a magazine.
- Second Chance (4,000 points): triggers once instead of going down, bursting nearby zombies and returning you to 100 health.
- Keeper (11,250 points): prevents perk loss on going down, and bleeding out consumes it so that respawn keeps your guns and perks.
Vending machines sell candy bars at a price of 500 points per candy, with each bar adding +1% to its stat and no stack limit beyond your points, covering Fire Rate, Walk Speed, Sprint Speed, Max Health, Reserve Ammo, and Reload Speed in the candies database. After every round, a 2.0-second delay triggers a draft of 3 upgrade cards. In combat, 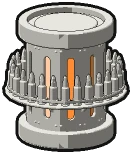 Max Ammo power-up drops refill every gun of every player.
Round Curves, Zombie Health, and Co-Op Scaling
In the demo build, every round curve stops climbing at round 26 and stays flat from round 26 onward. The full game has no last round; check the demo round cap guide or plug rounds into the round calculator to inspect exact wave outputs.
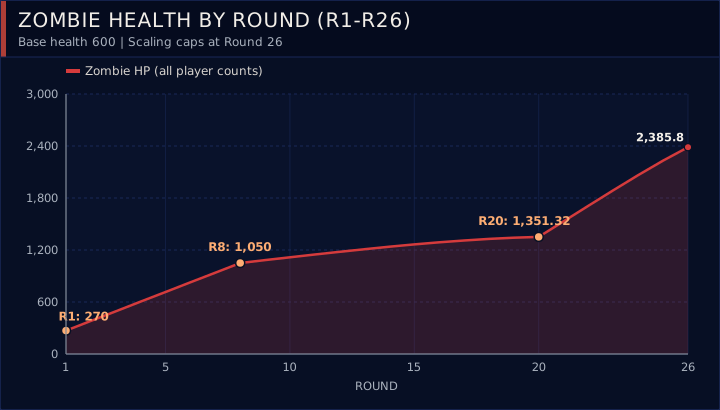
Zombie health scales from a 600 base (270.0 HP at round 1 with a 0.45 multiplier), reaches 1,050.0 HP at round 8, climbs to 1,351.32 HP at round 20, and caps at 2,385.8 HP at round 26. That health curve stays identical across every player count with no per-player term for zombies, as shown in our zombie health by round guide.
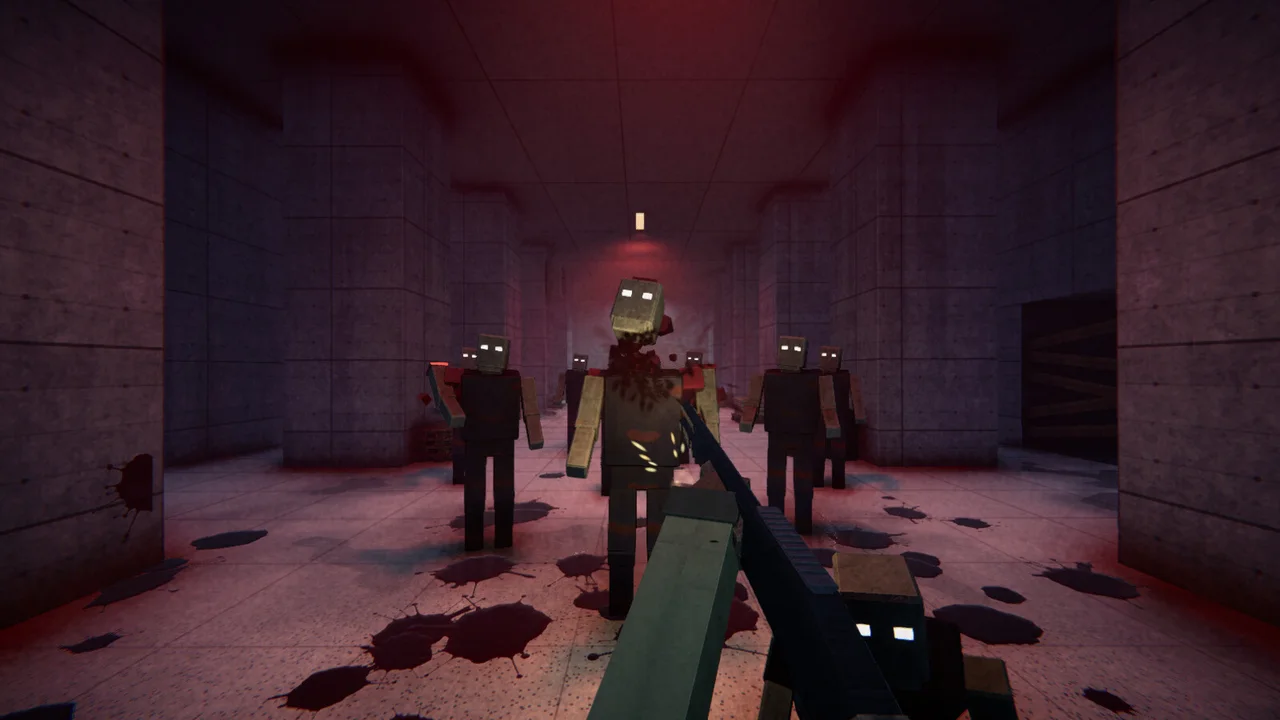
Total zombies per round rise steeply with squad size: solo waves grow from 5 at round 1 to 34 at round 10, 58 at round 20, and 98 at round 26, while 4-player squads face 17 at round 1, 129 at round 10, 192 at round 20, and 319 at round 26. Concurrent zombies alive at once start at a 24 floor and scale up to 84 solo or 272 for 4 players at round 26, capped at a hard ceiling of 520. Compare solo and squad waves in the zombies per round guide, the solo vs co-op scaling guide, and the co-op mechanics page.
Hive AI Ramps, Elites, and Combat Survival
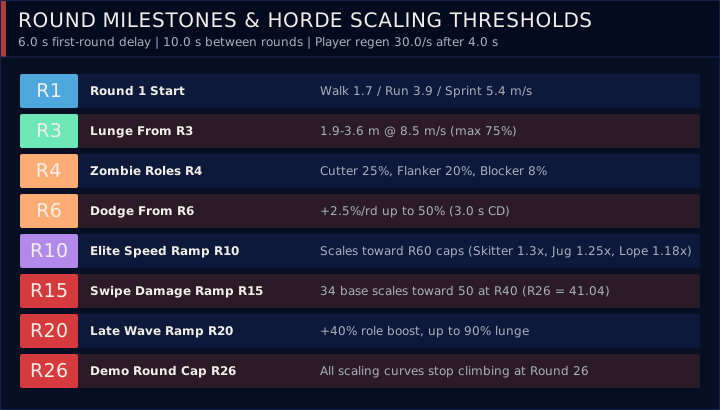
Zombie sprint speed is 4.86 on round 1 and reaches 5.0058 on round 26. Zombie swipe damage starts at 34 through round 15 and climbs to 41.04 at round 26. After taking damage, player health regeneration waits 4.0 seconds and restores 30.0 health per second.
Once Hive coordination activates, zombies unlock new roles and movement behaviors across early rounds, and all raw round values are listed on the rounds mechanics page:
- Round 4: zombies split into Cutter, Flanker, Blocker, and Chaser roles.
- Round 6: Hive dodge behavior unlocks on a 3.0-second cooldown between 5.0 and 26.0 meters.
Skitter spawns starting at round 7 every 6 rounds with 2 initial spawns and 1,407.86 health at round 7 with no player-count multiplier. Juggernaut spawns every 5 rounds with 15 times zombie health (10,735.71 solo HP and 17,177.14 for 4 players at round 5, reaching 35,786.98 solo HP at round 26), 45 melee damage, and 70 throw damage; read our Juggernaut guide before round 5 begins.